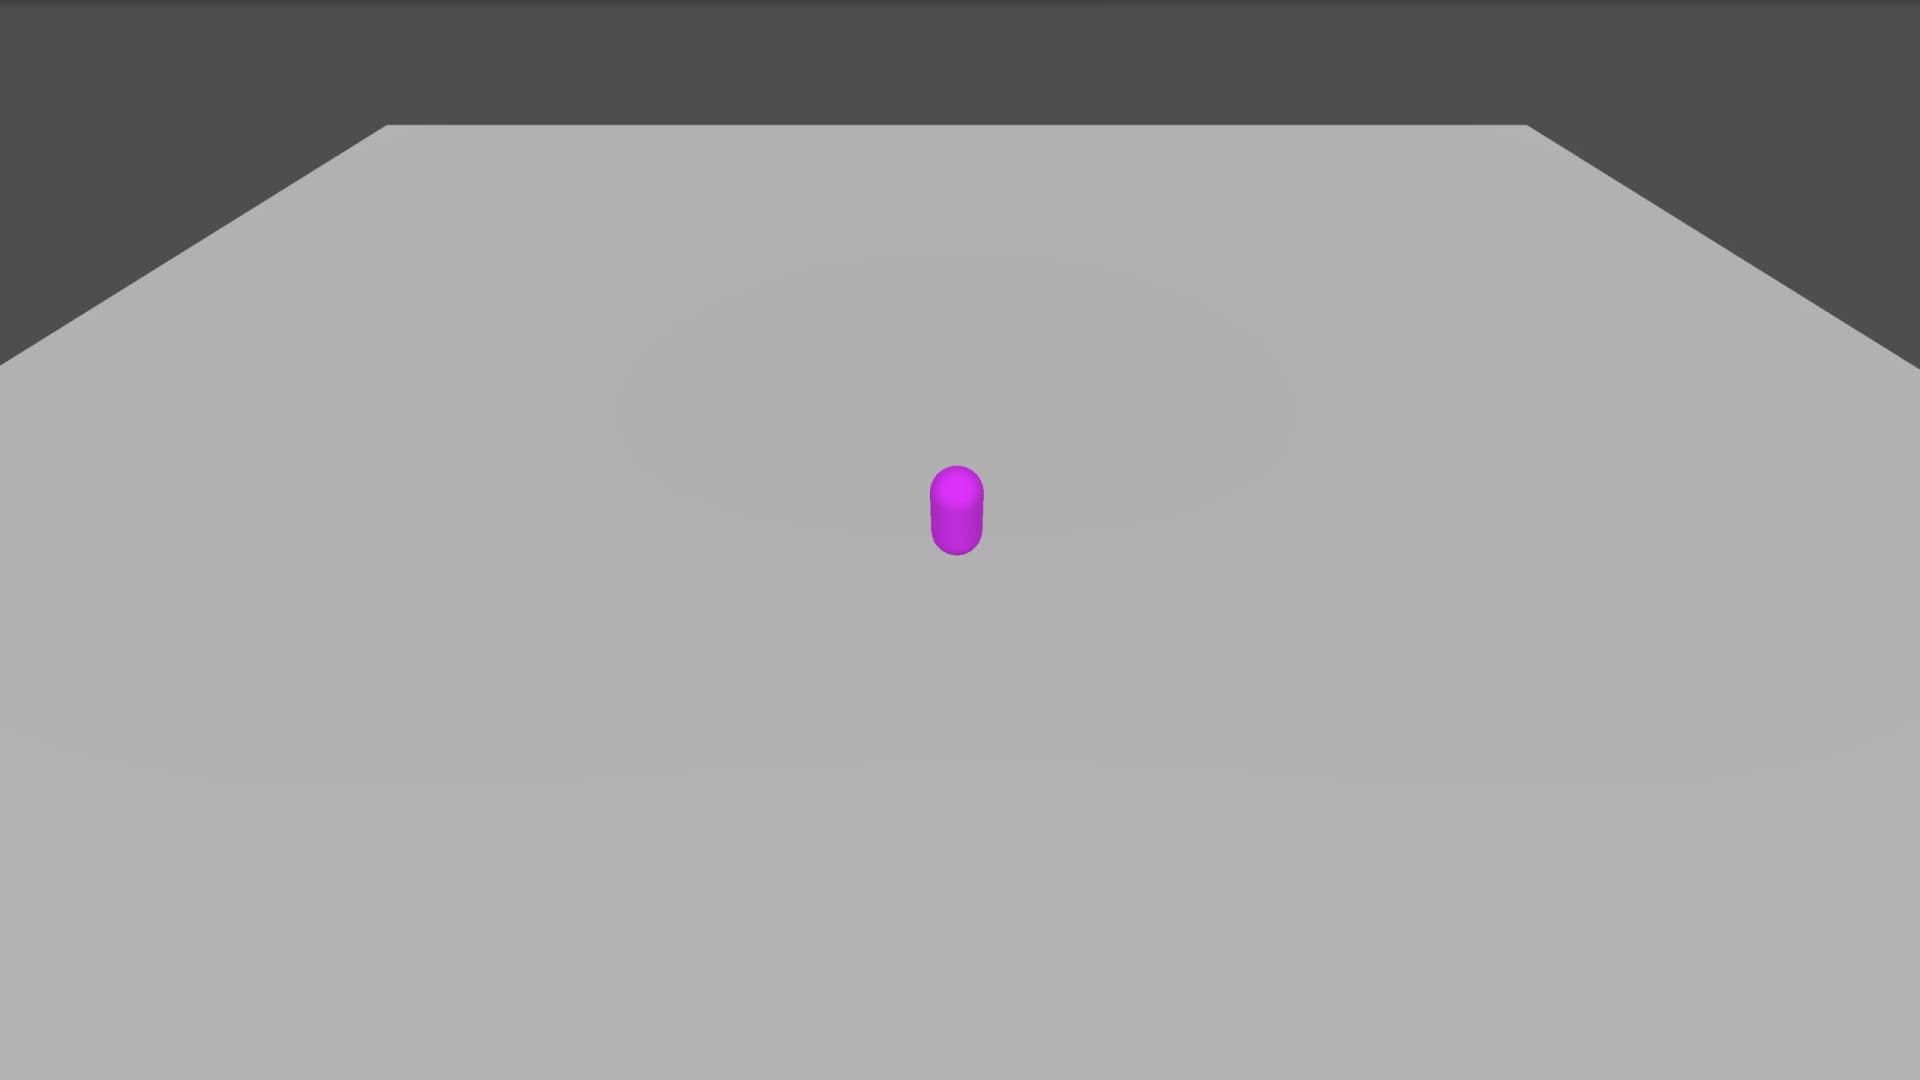
Top-Down 3D RPG Character Movement in Godot 4

Introduction
Developing a top-down 3D RPG in Godot 4 requires a robust and responsive character movement system. In this tutorial, we’ll walk you through setting up basic top-down movement for your character using the CharacterBody3D node. This guide will help you create smooth and intuitive controls that feel great to play, whether your game involves exploration, combat, or both.
1. Create a New 3D Scene:
Start by creating a new 3D scene. This node will handle the world scene for your character.
-
Add a StaticBody3D for the Floor:
As a child of the root node, add a StaticBody3D node, then attach a CollisionShape3D node as its child. Set the CollisionShape3D shape in the inspector to define the floor of your world. You can also add a MeshInstance3D to visualize this floor.
-
Add Lighting and Camera:
Add a DirectionalLight3D to illuminate the scene and a Camera3D node to visualize the world when the scene is played.
2. Add the Character
Under the root Node3D of your scene, add a CharacterBody3D. This node will handle all the physics and movement for your character. As a child of this node, add a CollisionShape3D and set its shape in the inspector to match your character's collider. Ensure the transform of this shape positions it above your floor.
3. Visualize the Character:
To visualize your character, you can add a MeshInstance3D node and assign a simple mesh, like a capsule or cylinder, to represent the character. This is optional for debugging purposes but can be replaced with your actual character model later.
The scene should look something like this as a basic setup:
Node3D
├── CharacterBody3D
│   ├── CollisionShape3D
│   └── MeshInstance3D
├── StaticBody3D
│   ├── CollisionShape3D
│   └── MeshInstance3D
├── DirectionalLight3D
└── Camera3D
4. Implementing Top-Down Movement
Now that the scene is ready, we’ll create a script for our CharacterBody3D node to handle movement. The goal is to implement a movement system where the character moves relative to the camera's orientation, which is typical for top-down RPGs. Attach a script the your CharacterBody3D. Use the provided CharacterBody3D: Basic Movement template or paste this code:
extends CharacterBody3D


const SPEED = 5.0
const JUMP_VELOCITY = 4.5

# Get the gravity from the project settings to be synced with RigidBody nodes.
var gravity = ProjectSettings.get_setting("physics/3d/default_gravity")


func _physics_process(delta):
	# Add the gravity.
	if not is_on_floor():
		velocity.y -= gravity * delta

	# Handle jump.
	if Input.is_action_just_pressed("ui_accept") and is_on_floor():
		velocity.y = JUMP_VELOCITY

	# Get the input direction and handle the movement/deceleration.
	# As good practice, you should replace UI actions with custom gameplay actions.
	var input_dir = Input.get_vector("ui_left", "ui_right", "ui_up", "ui_down")
	var direction = (transform.basis * Vector3(input_dir.x, 0, input_dir.y)).normalized()
	if direction:
		velocity.x = direction.x * SPEED
		velocity.z = direction.z * SPEED
	else:
		velocity.x = move_toward(velocity.x, 0, SPEED)
		velocity.z = move_toward(velocity.z, 0, SPEED)

	move_and_slide()
5. Camera Follow
Depending on where the camera is set you should be able to see the character move with arrow keys and space to jump. Now we need to have the camera follow the player.
Attach this script to your Camera3D node that will follow the player with offset:
extends Camera3D

@onready var player =  $"../CharacterBody3D"
@export var offset: Vector3 = Vector3(0, 10, 10)

func _ready():
	pass

func _process(delta):
	if player:
		# Calculate the target position based on player's position and the offset
		var target_position = player.global_transform.origin + offset

		global_transform.origin = target_position

		# Optionally, make the camera look at the player
		look_at(player.global_transform.origin, Vector3.UP)
Explanation of the Code:
-
Player Reference:
The @onready keyword ensures the player node is fetched when the scene is ready. -
Offset:
The offset variable determines the camera’s position relative to the player. This setup positions the camera above and slightly behind the player. -
Look At Player:
The look_at function ensures the camera always faces the player.
Conclusion
With this setup, you’ve created a basic top-down 3D RPG movement system in Godot 4, complete with a camera that follows the player. This foundation will allow you to expand your game further, adding complex gameplay mechanics, environments, and interactions. As you continue developing your RPG, remember to tweak and fine-tune the controls and camera to suit your game’s unique style and feel.
Thank you for reading, and stay tuned for more updates in the SeaCreature Dev Log!
